The robot will use the simple fact that an LED can sense light levels as well as emit light. To test this fact, I built a simple rig that can measure the light level as an analog voltage level over ADC. The following set up hooks up an LED to pin RA1 on the Pic16F88. The anode (positive, longer lead) is hooked to RA1. The cathode is set to ground. I hooked up a normally low button to ground with a 10k resistor. When pressed, it sends 5V to RB0. RB0 on the Pic16F88 is set up to interrupt on the rising edge. I flash an LED on RB4 for half a second when the interrupt occurs. I then execute an ADC conversion on RA1 (AN1).
I took some code from the PicList to convert a 12 bit (2 byte) value from the ADC (ADRESH and ADRESL) and convert it to 2 packed bytes in BCD values. By adding 48 to each nibble, I can display the thousands, hundreds, tens, and ones places as ASCII values on an LCD screen. The ADFM value of ADCON1 is set to right justify the 10 bit value. This means that the 6 most significant bits of the ADRESH byte are read as zero. This simplifies the conversion to BCD.
Here are my notes for the values for ADC with the Pic16F88 at 8MHz:
For Pic16F88, operating at 8 MHz.
Minimum Time of Acquisition: 19.72 us ( from the datasheet )
Minimum TAD: 1.6us ( max is 6.4 us )
Fosc = 8 MHz
Tosc = 125ns (1.25 x 10^-7)
Minimum Conversion setting = 16 x Tosc
16 * 125ns = 2us ( which is greater than the minimum TAD )
Total time to complete a reading is Acquisition time + 11 * Tad:
19.72 + ( 11 * 1.6 ) = 37.32 us .00003732 or 3.732 x 10^-5
Max Sampling Frequency: 1 / 37.32 us = 26795 samples/second
One gotcha with this set up. The PORTB pins of the Pic default to having a pull up resistor on each pin, This prevented the Pic from detecting the transistion from low ( with a 10k resistor ) to high. I disable the pull ups by disabling the pull ups on bit 7 of the OPTION register. Kinda backwards, you disable the pull ups by setting bit 7 of the OPTION register.
I tested red, green and IR leds. The red LED seems to provide the best range of values and sensitivity. Here are the red and green values. The IR was flaky enough that I didn't record the values.
green
dark: 130
low: 219
high: 255
red
dark: 115
low: 175
high: 233
Dark was my fingers and sleeve covering the LED. Low was the low light level present in my living room. High was the "flashlight" app of my smartphone on highest intensity pointed directly at the LED from a distance of about 3 inches.
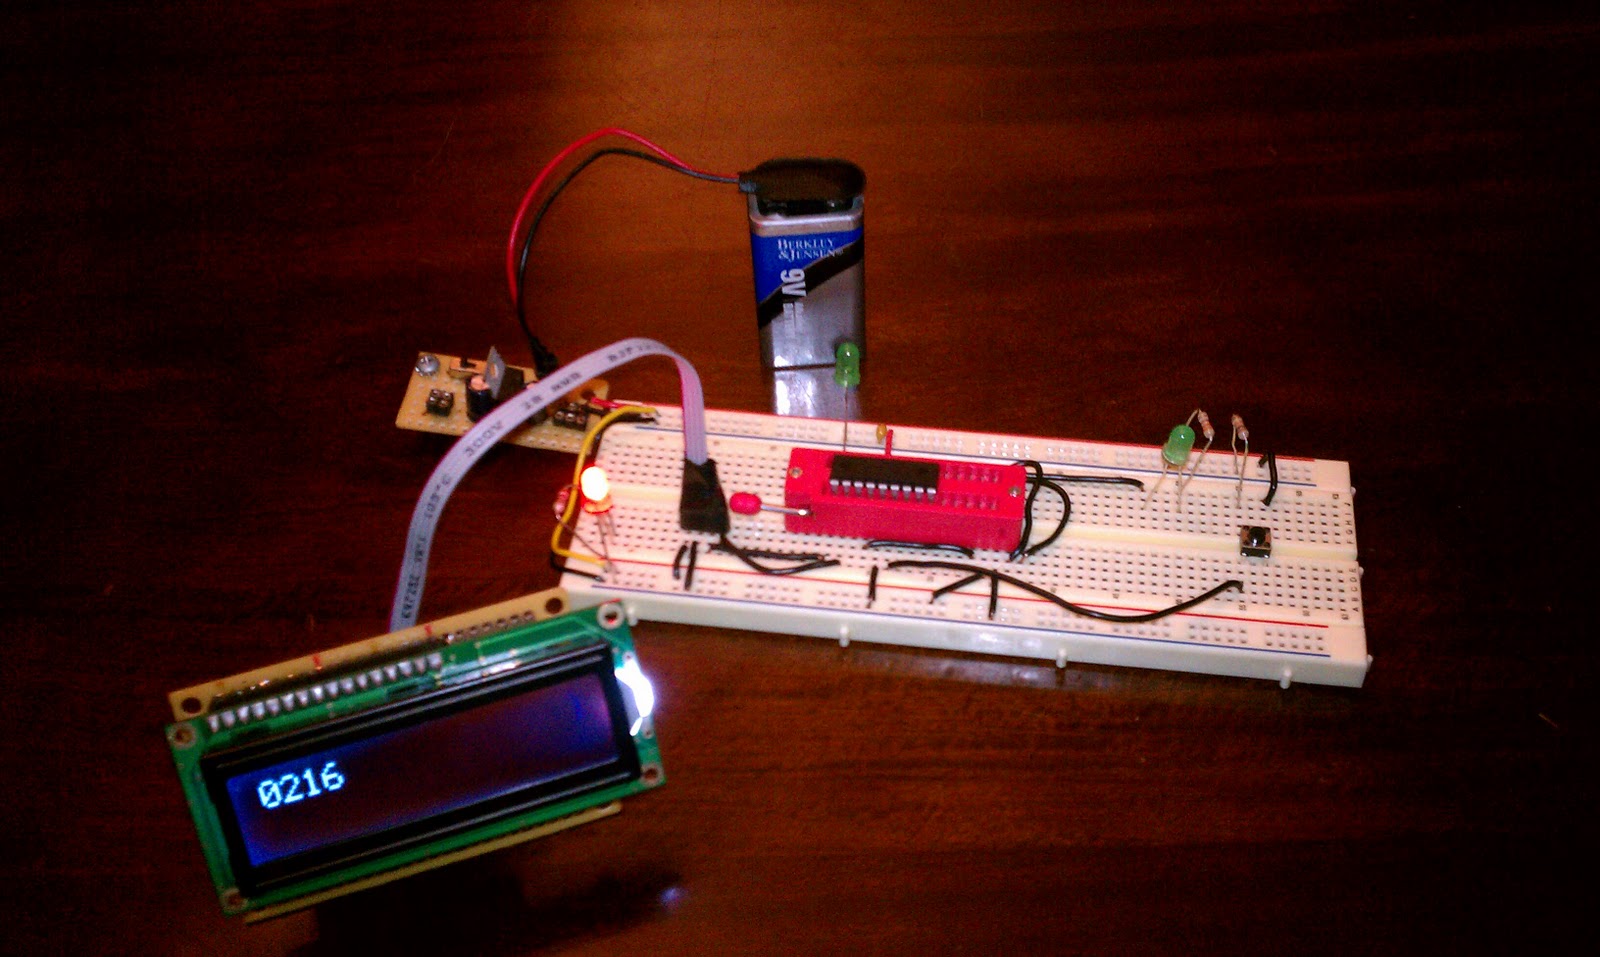
Here are some pictures of the breadboard layout:

Here is the schematic:

And here is a link to the source code:
Sense Light Level On Button
Two analog pins could sense two LEDs for left right light levels. They will adjust the level of vibration accordingly. Each motor will get 3 pins for PWM, totaling 75 mA of current. The whole thing will be run by a small, rechargeable lion coin cell battery ( 3.7 V, 110 mAh ). The Pic and motors will run well at this level. I'm not sure what the ADC will look like. I'll have to experiment further.
Here is the coin cell and its holder ( that will allow for recharge ):


I'll build a small carrier board for the whole thing. I still need to figure out how to hold the battery. I don't want to use the holder as this would involve too much weight and bulk. I need to create the legs, too. I'll use a toothbrush or two or maybe some paper clips. Who knows?
No comments:
Post a Comment